
Record polished screen recordings with zooms and click effects
For: a tutorial for a client, a walkthrough for a colleague, or a demo of the thing you just built, when the video has to be watchable rather than just recorded.
Raw screen recordings are hard to follow: the cursor is tiny, nothing marks a click, and the interesting part is a small corner of a big screen. Studio records the cursor, clicks and keystrokes as data alongside the video, then draws them back in properly, so everything about the finished video is still editable after you stop recording.
The flow
- Press
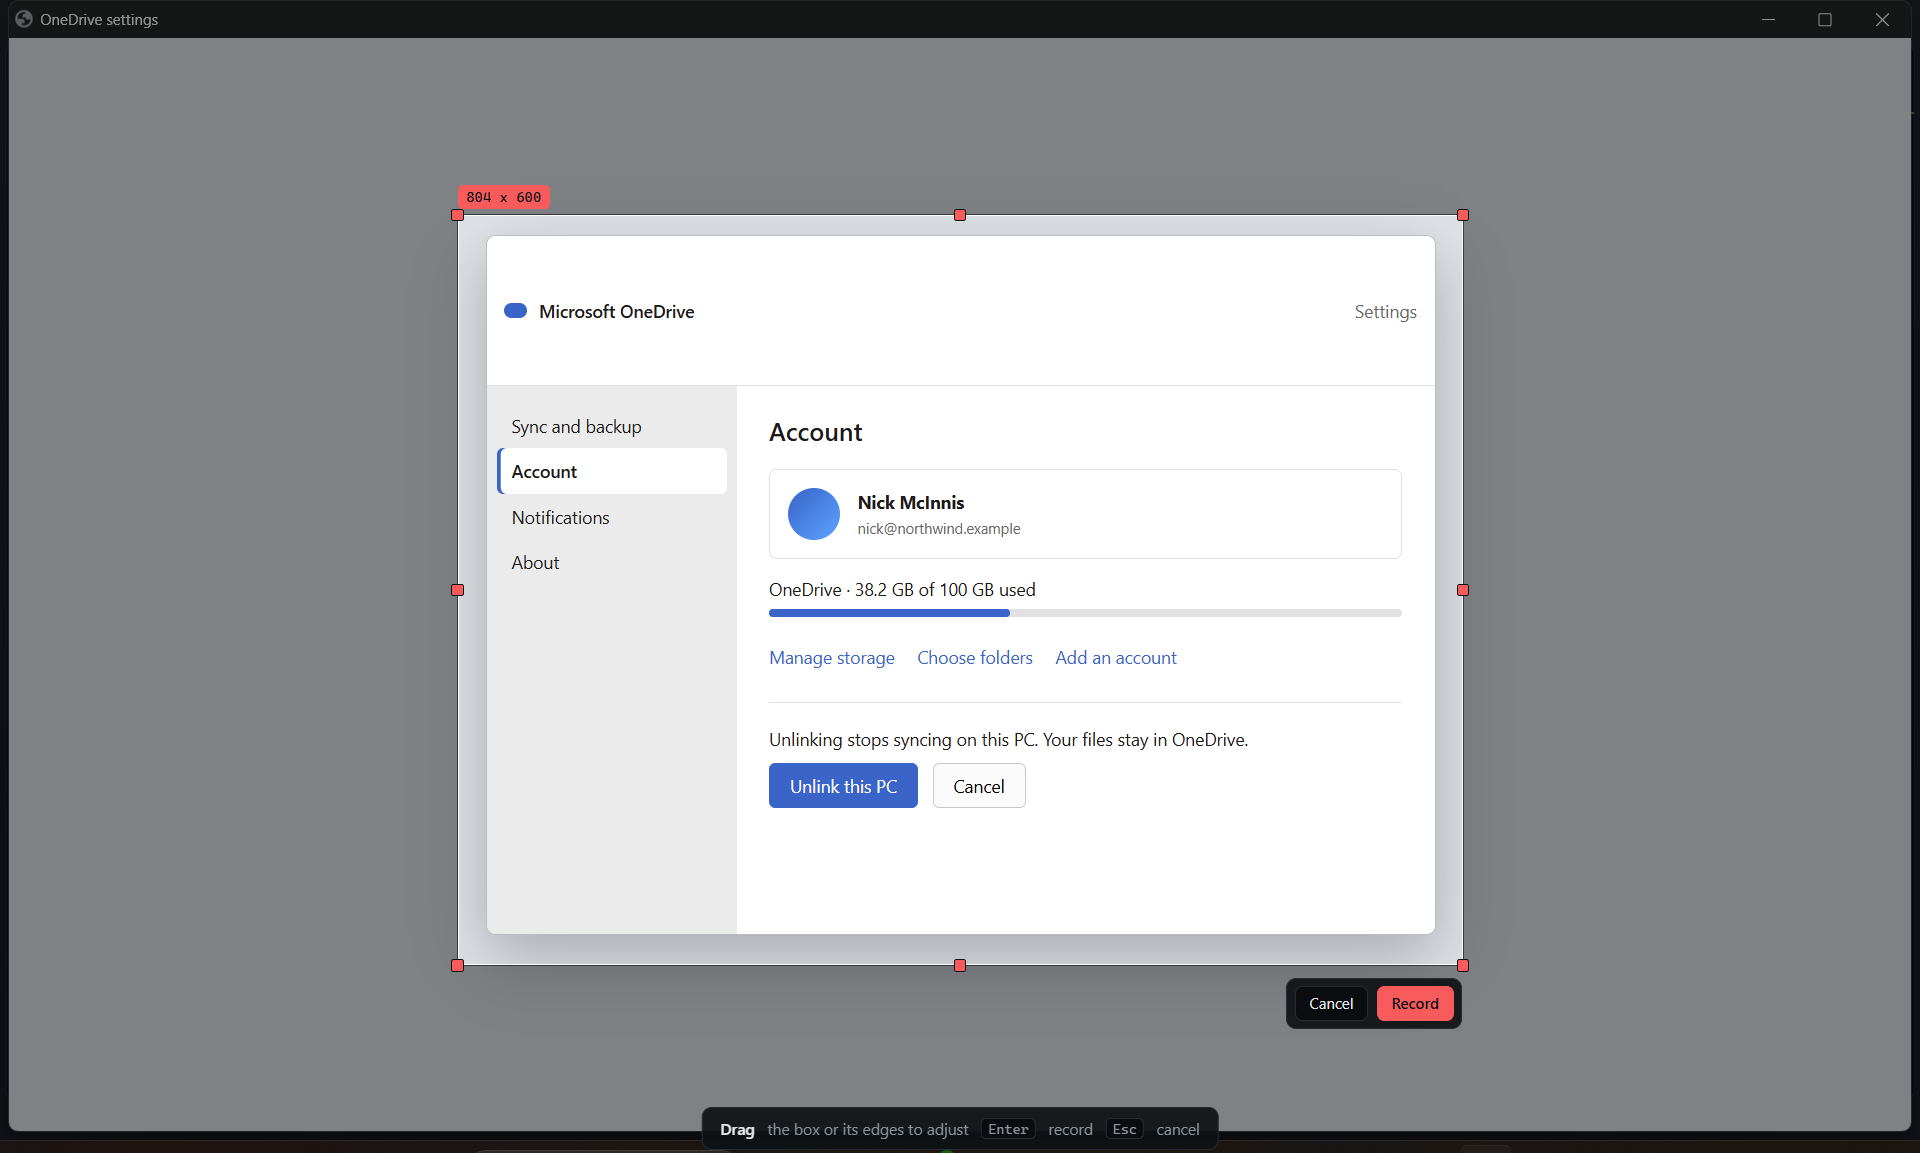
Ctrl+Shift+R. Drag the region, pull its edges to adjust, and press Record orEnter. The badge counts down from three, then shows REC and the time. - Do the thing. Press
Ctrl+Spaceto zoom in where the cursor is; press it again to zoom out. - Press
Ctrl+Shift+Rto stop. The studio opens on the recording. - Tidy it: retime the zooms, trim the start and end, cut the stretch where you waited for a page to load.
- Press Export… and pick 720p, 1080p or 1440p at 30 or 60 fps.
What you get
An H.264 MP4, exactly as previewed, written into the recording's folder under ~/QACut/. Naming the recording names the file and the folder. The preview and the export share one renderer, so what you saw is what you send.
In the studio, everything the recording captured is a control rather than a fact:
- Zooms. Marks made while recording are blocks on the timeline. Drag one to move it, drag its edges to retime it, drag in the preview to change where it looks, and set how close with the slider. Each eases in over 600 ms, holds, and eases out. Follow the cursor keeps the camera on the work with a dead zone so it does not twitch, and Add zoom here makes one at the playhead.
- Clicks and keys. A smoothed, enlarged cursor with a ripple where every click landed. Keystroke badges for shortcuts only, or every key; click a key marker on the timeline to hide that badge.
- Trim and cut. Start here and End here, or drag the white handles. Cut twice removes a stretch from the middle; cuts are blocks like zooms, so drag them, resize them, or remove one.
- The frame. Padding, corners, background and shadow, set in the inspector.
Tips
Ctrl+Spaceis only taken over while a recording runs, so your editor keeps it the rest of the time.- In the studio,
Spaceplays or pauses,IandOset where the video starts and ends at the playhead,Xcuts, andDeleteremoves the selected zoom or cut. - Export uses the machine's hardware encoder where it has one. Expect a few times real time at 1080p30; the camera bubble is the slow part.
- QACut's own overlays are excluded from capture, so a recording of QACut in use does not show the tool.
Related
- Record a screen walkthrough with narration, when the video should explain itself.
- Add your camera to a screen recording, when the person matters as much as the screen.
- Brand a screen recording with your logo and title, when it should look like it came from your company.
- Auto-capture a process into step-by-step screenshots: document or video? Auto-capture gives you stills and a document instead of an MP4.
- Polished screen recordings in the docs.